http://www.ert.gr/webtv/et1/item/11801-Moysikh-paradosh-A%CE%84Meros-20-03-2013#.UUr5jxcaOaZ
HISTORICAL PERSPECTIVE The Shiraz Arts Festival: Western Avant-Garde Arts in 1970s Iran Robert Gluck
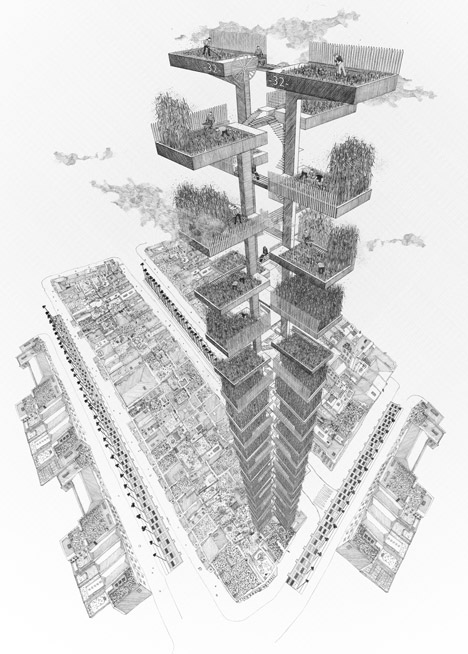
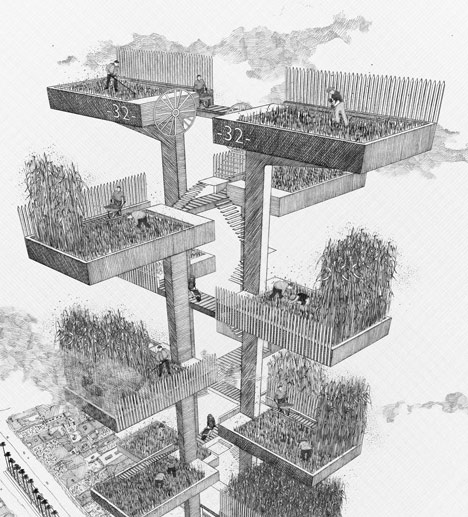
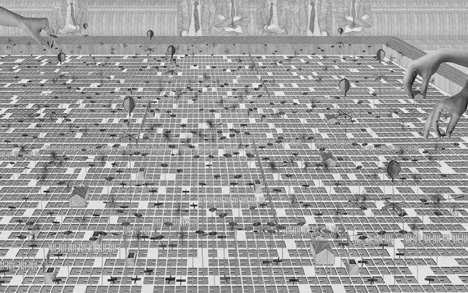
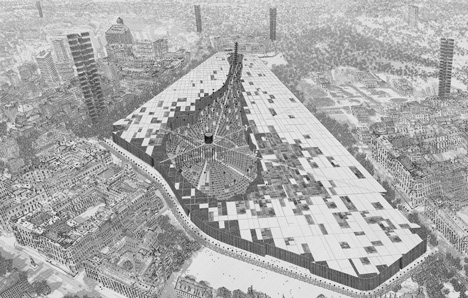
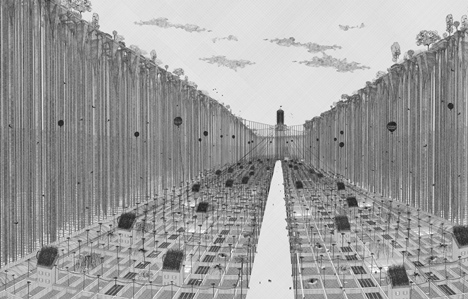
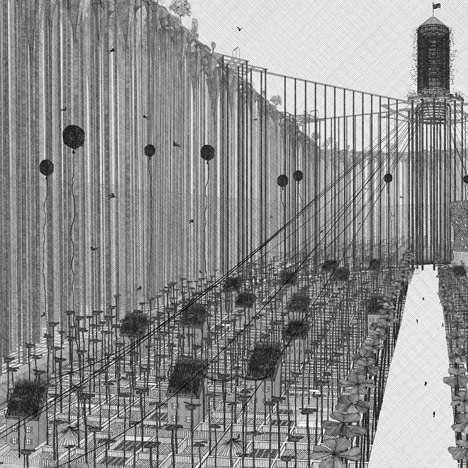
iannis xenakis proposal at shah pahlavi;s reign
During the twilight years of Mohammed Reza Shah Pahlavi’s reign in Iran, a panoply of avant-garde forms of expression complemented the rich, 2,500-year history of traditional Persian arts. Renowned musicians, dancers and filmmakers from abroad performed alongside their Persian
peers at the annual international Shiraz Arts Festival. Elaborate plans were developed for a significant arts center that was to include sound studios and work spaces for residencies.
Young Iranian composers and artists were inspired by the festival to expand their horizons to integrate contemporary techniques and aesthetics. Some subsequently traveled abroad for
further study. Although the 1979 Islamic Revolution marked the end of institutions sustaining the avant-garde and scholarships for international study, creative expression sparked by
the festival has continued in cinema and other arts. FOUNDING OF THE SHIRAZ ARTS FESTIVAL
A central goal of Pahlavi rule throughout the 20th century was modernization and industrialization, while still maintaining independence from other nations, particularly Great Britain
and the Soviet Union [1]. Mohammed Reza Shah Pahlavi hoped to ground his independence and authority in three assertions: secular rule, Pahlavi political hegemony and continuity with the ancient, pre-Islamic Persian Empire. In 1967, the Shah crowned himself Emperor and his wife Empress, thereby securing her right of succession. The upcoming 2,500th anniversary (1971) of the conquest of Babylonia by Cyrus the Great, the founder of the Persian empire, provided
a rationale for an international cultural event at the ruins of Persepolis, the ancient pre-Islamic royal seat.
The Shiraz Arts Festival began in 1967 as a showcase for the royal court, especially Empress Farah Diba, a former architectural student, who convened each year’s events. Musician
Gordon Mumma remembers her as “an extraordinary woman
of considerable worldly knowledge” [2]. National Iranian Radio and Television (NIRT), also founded in 1967, served as festival sponsor. Sharazad (Afshar) Ghotbi, a violinist and wife of
NIRT director Reza Ghotbi, was named musical director. Programming reflected Empress Farah’s Western-leaning, contemporary tastes (Fig. 1).
The decision to establish a festival that presented Western-oriented
arts was fraught with potential con- flict. Iran boasted of openness to intellectual ideas and the social integration of women, but the state sharply curtailed internal political
expression, unwittingly fostering the growth of a radical Islamic clerical opposition who would prove to be offended by festival programming. The opulence of the court was on full display throughout the 11 years of events, highlighting the economic distress of the general
populace. Nonetheless, the creative activity featured at the festival reflected the most forward-looking international efforts, presenting Iran to the world as pioneering and open.
EXPERIENCES OF WESTERN=-PERFORMERS AND ATTENDEES
For visiting artists, the Shiraz Arts Festival offered a remarkable experience. Merce Cunningham Dance Company (MCDC) dancers Carolyn Brown and Valda Setterfield recall
their 1972 visit as a “unique . . . wonderful unforgettable adventure” [3] and as “heady and thrilling” [4]. Gordon Mumma
ABSTRACT
Iran in the 1970s was host to an array of electronic music and avant-garde arts. In the
decade prior to the Islamic revolution, the Shiraz Arts Festival provided a showcase
for composers, performers, dancers and theater directors from Iran and abroad, among
them Iannis Xenakis, Peter Brook, John Cage, Gordon
Mumma, David Tudor, Karlheinz Stockhausen and Merce Cunningham. A significant arts
center, which was to include electronic music and recording studios, was planned as an
outgrowth of the festival. While the complex politics of the Shah’s regime and the approaching revolution brought these developments to an end, a younger generation of artists
continued the festival’s legacy.
GLOBAL CROSSINGS
Article Frontispiece.
Valda Setterfield of the Merce Cunningham
Dance Company in a 1968 performance of Rainforest with Andy
Warhol–designed pillows. Rainforest, with the same pillows, was
performed as part of Shiraz Event at the Shiraz Arts Festival in
1972. (Photo courtesy James Klosky)
Fig. 1. Empress Farah greets John Cage and Merce Cunningham
at the 1972 festival. (Photo courtesy of Cunningham Dance
Foundation Archive)calls it “one of the most extraordinary cultural experiences of my life.” Setterfield’s
memories of Shiraz include:
drinking watermelon juice for breakfast,
huge insects buzzing around and drowning in the swimming pool, the heat of the
ground being too much to walk to the
pool without shoes. The nearby market
was wonderful, filled with the sound of
metal pots being beaten into shape and
mysterious things to eat. When the sun
went down, everything smelled like roses.
An elite audience converged on the
festival. Mumma points out that “the cost
of admission was not only money, but also
security clearance.” A 1976 column in
Tehran Journal mixed criticism and gossip: “the Empress [appeared] in a multicolored velvet siren suit that quite
outshone most of the ladies’ gowns” [5].
Brown recalls that the audience “appeared far more interested in looking at
the Queen and her entourage than at the
dancing,” but Mumma found the audience to be serious and interested: “There
were none of the aggressive arguments
about ‘that isn’t music’ stuff that we often
encountered elsewhere.”
Security was tight, as Mumma notes:
“In Persepolis each of us was given a
‘guide’ (read ‘guard’) dressed in a Western suit with a tie and jacket. The primary jacket function was to conceal their
weapons. . . . We traveled in Iranian military aircraft.” Setterfield remembers:
sented Nuits, a choral work dedicated
to political prisoners, some named and
“thousands of forgotten ones whose
names are lost” [8], and in 1969 presented the percussion work Persephassa,
commissioned by the festival and Office
de Radiodiffusion Télévision Française
(ORTF). Persephassa links cross-cultural
legends of the Greek goddess Persephone. Xenakis’s third and final work for
the festival was the commissioned multimedia extravaganza Polytope de Persépolis,
which premiered at the Persepolis ruins
on 26 August 1971. Xenakis describes the
work as
visual symbolism, parallel to and dominated by sound . . . correspond[ing] to a
rock tablet on which hieroglyphic or
cuneiform messages are engraved. . . .
The history of Iran, fragment of the world’s history, is thus elliptically and abstractly represented by means of clashes, explosions, continuities and underground currents of sound [8].
Critic James Harley describes Polytope de Persépolis as“unrelenting in its density
and continuously evolving architecture”
[9].
Xenakis scholar Sharon Kanach reconstructs the scene as follows:
The audience was placed in the ruins of Darius’s Palace and was able to move
freely between the six listening stations placed within these ruins. Each station
had eight speakers, one for each track. . . . The one-hour spectacle began in total
darkness with a “geological prelude” of excerpts from Xenakis’s first electroacoustic work, Diamorphoses (1957). Immediately afterwards, on the mountain facing the site, two gigantic bonfires are lit, projector lights sweep the night sky, and two red laser beams scan the ruins.
Then, several groups of children appear carrying torches and proceed to climb to
the summit, towards the bonfires, outlining in scintillating light the mountain’s
crest. . . . Suddenly, the groups of children disperse and climb down the mountain
in constellation-like figures (Color Plate E) and finally congregate between the
two tombs where their torches spell out in Persian “we bear the light of the
earth,” a phrase by Xenakis. One last outburst and the 150 torch-bearers run past
the ravine and disappear through the crowd into the forest [10].
The new work faced mixed reactions. The Empress and NIRT liked it enough
to offer Xenakis a further commission for the design of a proposed art center. However, some Iranian critics, sensitive to the legacy of Western hegemony in Iran, associated Greek composer Xenakis’s torch spectacle with the burning of Persepolis
by Alexander the Great [11] or suggested that the symbolism could be interpreted
as the actions of Nazi brownshirts [12].
“Persepolis was absolutely filled with soldiers with rifles. They seemed to appear
out of the woodwork at every corner.
There was a real sense of wariness and
danger. You looked at something extraordinary, old and beautiful, and suddenly you would see the soldiers.” Merce
Cunningham discovered that pillows
used in the Persepolis performance
“were in a room full of machine guns”
[6].
PROGRAMMING
The Shiraz Arts Festival always include traditional music from around the world.
The 1967–1970 programming included
Indian sitarist Ustad Vilayat Khan, American violinist Yehudi Menuhin, numerous Persian classical musicians and artists, a Balinese gamelan ensemble, the Senegalese National Ballet and performances of the Persian passion play ta’ziyeh
(“mourning” or “consolation”) portraying the founding of Shi’a Islam [7].
Ta’ziyeh, banned under the Shah’s father,
influenced avant-garde Western theatrical directors Peter Brook, Jerzy Grotowski
and Joseph Chaikin (who brought The
Open Theatre [Fig. 2]). Visiting dance
companies included Merce Cunningham
in 1972 and Maurice Bejart in 1976.
The Western composer most closely
associated with the Shiraz Arts Festival
was Iannis Xenakis, who in 1968 pre-
22 Gluck, The Shiraz Arts Festival
GLOBAL CROSSINGS
Fig. 2. Performance of Joseph Chaikin’s Open Theater at the 1971
Shiraz Arts Festival. Still image taken from a Pars Video documentary.Xenakis (Fig. 3) responded that “fire
and light represented goodness and
eternal life . . . using children today as
torch-bearers, representing the men and
women of tomorrow, is a cry of hope for
the future” [13].
The 1972 festival was a veritable Stockhausen festival, the composer’s “highlight of the year” [14], featuring three
“intuitive” compositions and Gruppen,
Carre, Stimmung, Gesang der Jünglinge, Telemusik, Prozession, Kontakte, Spiral, several
Klavierstücke, Hymnen (Fig. 4) and Mikrophonie I. MCDC dancer Brown describes
Stockhausen’s appearance at the festival as like that of a “guru . . . walking the
streets of Shiraz white robed.” The festival closed with an outdoors performance
of Sternklang, in which
a seething mass of about eight thousand
poured up the star-shaped converging
paths. . .the spectators squashed together
on the pathways, besieging the performers . . . [some] clambered up the loudspeaker scaffolding and were hauled
down again by the police . . . Stockhausen
was convinced that his music would calm
the listeners. And so it was. After half an
hour of music the waves subsided [15].
Tehran Journal described the 1972 festival as “the most avant-garde and most
controversial Shiraz Festival so far” [16].
Electronic music dominated the offerings, which included numerous concerts
by Stockhausen, performances by MCDC
featuring musicians John Cage, David Tudor and Gordon Mumma, and tradiwas helium-filled pillows designed by
Andy Warhol (Article Frontispiece), tethered to the ancient pillars, as Mumma recalls, to “keep them from floating away
from the performance.” Company administrator Jean Rigg remembers that
“The winds came up, and many simply
snapped their lines and floated off . . . the
effect was great” [21].
The musical concert included
Mumma’s Ambivex (“a composition for
trumpet [or cornet] with live cybersonic
modification”) and a simultaneous performance of Cage’s Birdcage and Tudor’s
Monobird (Fig. 6) [22]. Birdcage (1972)
is a “complex, exuberant, and joyful” collage composed from sounds of birds,
“Cage singing his ‘Mureau’ and . . . ambient sounds” [23].
IMPACT ON YOUNG
COMPOSERS AND ARTISTS
The festivals proved influential on the rising generation of Iranian artists and composers. Brown recalls: “John Cage was
greeted by many devoted fans as a muchloved ‘hero.’” Students at Tehran University, such as Persian-American composer
Dariush Dolat-shahi, experienced the festival close up because the music department was actively involved in the events.
Dolat-shahi recalls that “Every year, I
waited for the event to happen. These festivals were a major source of information
for us about what was happening musically outside Iran. I received my own first
commission when I was nineteen years
old” [24].
Dolat-shahi became “part of a group
of four people who used to get together
and listen to modern music including
Schoenberg, Berg, Ligeti,” and realized
his first work for strings and tape, popular instrumentation during the festivals, using a small tape recorder. Festival
performances also influenced the development of Iranian theater, as IranianAmerican writer and theater artist Zara
Houshmand observes about a recent
Tehran performance directed by Majid
Jafari: “Jafari’s work, like that of Pessyani
and so many Iranian directors, owes
a huge debt to Jerzy Grotowski, Peter
Brook, Tadeusz Kantor, and other leading lights of the European avant-garde
who accepted invitations to the Shiraz
Festival before the revolution” [25].
Government agencies offered scholarships to support young artists to study
abroad. Among them were Dolat-shahi,
supported by NIRT, and Massoud Pourfarrokh, supported by the Iranian Ministry of Art and Culture. The Shah once
wrote:
tional Persian and South Indian music
and contemporary Iranian theater and
film. Electrical power needed to be
brought into Persepolis from outside,
notes Mumma, “by truck and horsedrawn wagons. I was told that much of
that sound equipment was obtained on
loan from the Deutsche Rundfunk by the
Iran government.”
Merce Cunningham Dance Company
gave outdoor dance performances at Shiraz and Persepolis, plus a musical concert. The dance performances included
two “Events,” composed of material selected from the company’s repertoire
“to allow for, not so much an evening
of dances, as the experience of dance”
[17]. The choreography was unrelated to
the music, which included John Cage’s
one-minute stories making up Indeterminacy [18] and circa-1930s Argentine
tangos. An “official” festival reviewer
wrote: “Tuesday night, alas, was unintense, overlong, extended, and—except for such ecstatic moments—tedious
and exhausting” [19]. Music for Persepolis Event (Fig. 5) included Signals and
Landrover, collaborative compositions by
Cage, Tudor and Mumma, and Tudor’s
Rainforest (1968), which Mumma recalls
was “performed with a forest of electroacoustic transducers of his own uncanny
design” [20].
Setterfield remembers dancing at the
ruins of Persepolis as “glorious and physically hard . . . the ground was rocky, so
we had to wear shoes.” The only décor
Gluck, The Shiraz Arts Festival 23
GLOBAL CROSSINGS
Fig. 3. Iannis Xenakis
in a heated dialog
during the 1971 Shiraz
Arts Festival. Screenshot from a Pars Video
documentary.It requires lively insight and imagination to transplant Western technology effectively to a country like Persia. As I
have said, much adaptation is necessary,
and we largely rely for this upon the
young men whom we send abroad for
post-graduate study and who naturally
encounter the problem of using their
new knowledge in home conditions.
Many of these adaptations are almost instinctive or unconscious, but others may
require extended research [26].
AsGordon Mumma observes, “the outward looking ideas of the Iranian government and the aspirations of their
intellectuals and younger creative artists”
pointed to such collaboration.
Dolat-shahi first studied abroad in Amsterdam in 1970. In 1974, he returned to
Tehran, but “felt the need to continue my
education” and thus received an additional scholarship to attend Columbia
University, where he was already familiar with the works of faculty members Milton Babbitt and Vladimir Ussachevsky.
NIRT expressed interest in training him
to play a staff role in the proposed new
arts center being developed by Iannis Xenakis and sponsored by NIRT. “The idea
for this studio had a lot of support, since
a lot of electronic music was performed
at the festivals. They wanted to have a major center of their own” [27].
compose music, including electronic music for a time, in Iran. Dolat–shahi recalls
that in 1977 NIRT commissioned a work
for electronics and chamber orchestra
for the 1977 festival from ColumbiaPrinceton director Ussachevsky, but a few
months before Ussachevky’s scheduled
departure from the United States, the declining political situation made a visit impossible. Chou Wen-Chung, chairman of
the Columbia University music department, also visited Iran. He recalls:
My students Massoud Pourfarrokh and
Dariush Dolat-shahi told about many of
the problems faced by Iranian students.
They came up with the idea of setting
up a cultural exchange between the two
countries at Columbia University, like
The Center for U.S.-China Arts Exchange
that I had already established. . . . Massoud and Dariush arranged for me to go
to Iran and meet with officials in that
country.
The three of us went together as private citizens. It was probably in the late
spring or late August of 1978, before the
school year began, and we made a connection with the Minister of Culture. He
was a very powerful man, quite westernized and close to the Shah. The Ministry
building was like a palace. We had a couple of very productive sessions together.
He was very pleasant and knowledgeable,
well briefed on the intention of my trip.
The Minister was very supportive of this
Dolat-shahi thus began work at the
Columbia-Princeton Electronic Music
Center in 1976, preparing the tape portion of his festival-commissioned piece
From Behind the Glass, a composition for
20 strings, piano, tape and echo system.
Critic Janet Lazarian Shaghaghi wrote
that the work “conveyed a stimulating
imagination of space, was original and
good to listen to” [28]. The official festival program observed that “electronic
music liberated [Dolat-shahi] from old
concepts of melody and harmony and
provoked further explorations into the
raw material of music, i.e. sound” [29].
The 1976 festival also included Dolatshahi’s Two Movements for String Orchestra
(1970) and Miragefor orchestra and tape,
which, wrote Shaghaghi, “easily unfolded
its beauty; it bloomed as fast as it was
started, the sound effects and the orchestral music blended harmoniously”
[30]. The programming also included
music by other forward-looking Iranian
composers such as Alireza Mashayeki,
Mohammad Taghi Massoudieh and Hormoz Farhat, then head of the television
network’s Music Council and an artistic
advisor of the festival.
The final festival in 1977 featured
works by Fawzieh Majd, Ivo Malec, Bach
and Mashayeki, who continues to actively
24 Gluck, The Shiraz Arts Festival
GLOBAL CROSSINGS
Fig. 4. The 1972 performance of Hymnen at Persepolis, from the archives of the Stockhausen Foundation for Music,
Kuerten .new idea and he offered to provide substantial funding.
The Center would have been something quite exciting. It was to be broadly
based around music in the context of a
cultural exchange between the two countries. Iranian scholars and composers
would come to the United States to interact with their American counterparts
and be exposed to more advanced studies in terms of compositional principles
and technology. There was interest on
both sides for it to include electronic music. My interest on behalf of Columbia
University was to send American musicians and scholars to research Persian
music in Iran, not just ethnomusicology,
but also looking to the future of their music. The Minister of Culture was interested in developing a center for cultural
exchange in which students from both
countries could study the old, represented by Iran, and the new, represented
by the United States.
The rest was up to me to convince Columbia University to work with us. There
was no question in my mind that it would
indeed happen. The next step would
of everything, but to hire Iranians locally
to execute his ideas” [34].
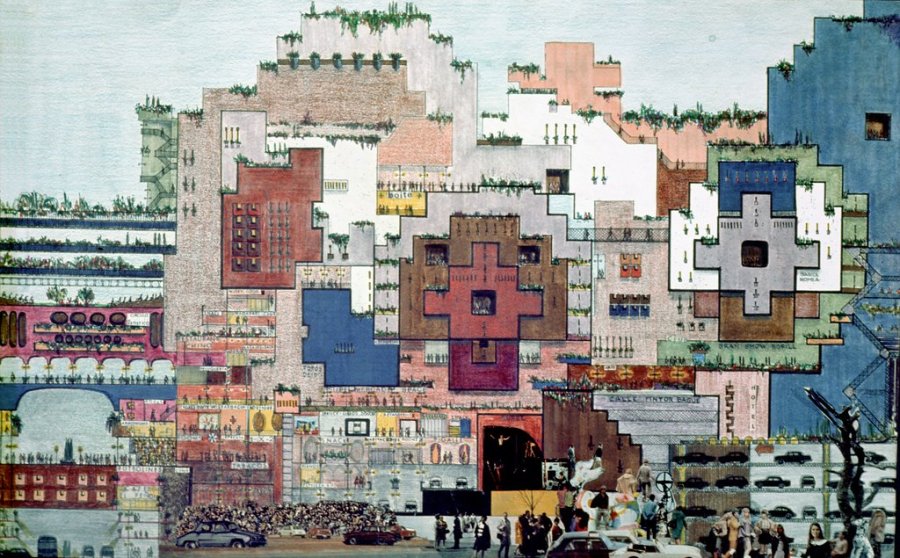
To summarize Xenakis’s proposal, according to his “General Guidelines,” the
Center was to be an interdisciplinary and collaborative “scientific research center”
for sound and visual arts, cinema, theater, ballet, poetry and literature, to “continue
all the activities year round of the Annual Festival of Shiraz-Persepolis.” In addition
to public presentations, the center would support ongoing work by up to 40 visiting and 50 permanent artists, scientists and staff members. It was to be “essentially based on the most advanced research and technological events, leading us towards the future of Art,” open to all
people, fostering exchange between its participants and the city (not “an intellectual ghetto”), sharing resources with the university, cultivating traditional arts
“observed through the light of the most advanced research and experimentation
have been to invite the Minister of Culture to the United States, agree on terms
and get the Center started [31].
These plans collapsed, as did planning
for the 1978 festival, as the revolution approached.
A PROPOSED CENTER
FOR THE ARTS
The success of Xenakis’s monumental Polytope de Persépolisled to his engagement
as “Engineering consultant in charge of the architecture of a Cité des Arts in
Shiraz-Persepolis” [32]. Discussions for the proposed center actually may have
begun as early as 1968 [33]. Xenakis’s design was based upon his plan for “a very
similar project he devised [in 1970] as a Le Corbusier Center for the Arts [in
Chaux-de-Fonds]. The plan, as far as can be told, was to make Xenakis in charge
Gluck, The Shiraz Arts Festival 25
GLOBAL CROSSINGS
Fig. 5. Persepolis Event, Douglas Dunn (left), Carolyn Brown (rear) and Merce Cunningham (far right).
(Photo courtesy Cunningham Dance Foundation archive)and not through the normal musicological, theatrical, choreographic . . . academic traditions.”
In his plans, Xenakis referred to the
sound arts element as a “Center for Studies of Mathematical and Automated Music,” which Kanach believes likely to
have been similar to Xenakis’s center in
Paris, CEMAMu, the Center for Studies
in Mathematics and Automation of Music. The proposed center was to include
laboratories for “automated” digital and
analog music and film sound editing,
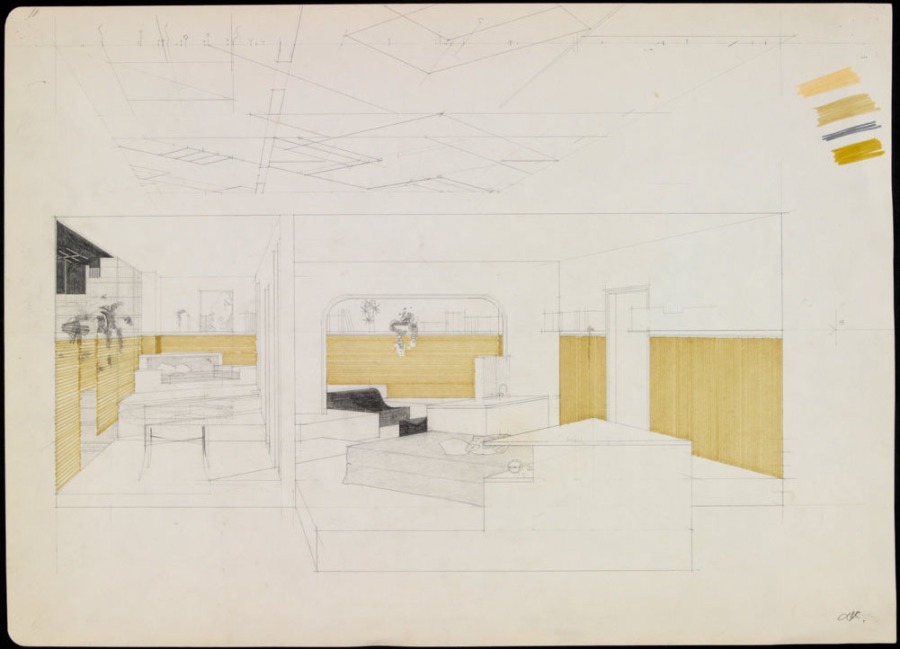
two recording studios, a library and repair workshop, a 10,760-square-foot “Hall
of Nothingness” and parking facilities
for 1,000 cars. The proposed budget was
35,000,000 francs (approximately US$7
million) [35]. As nothing was put into
writing at the time, it is possible that
plans never reached the stage at which
administrative details, including Dolatshahi’s formal role, would be defined.
POLITICAL
CONSIDERATIONS
AND CONFLICTS
The politics involved in Western artistsparticipating in the festival and proposed
arts center were complex. Negative reactions by Iranians to Xenakis’s Polytope de
Persépolis extended to Iranians living in Paris, the composer’s home city. There,
Islamic opponents of the Shah publicly criticized Xenakis for collaborating with
who, like yourself, have made the ShirazPersepolis Festival unique in the world.
But, faced with inhuman and unnecessary police repression that the Shah and
his government are inflicting on Iran’s youth, I am incapable of lending any
moral guarantee, regardless of how fragile that may be, since it is a matter of artist
creation. Therefore, I refuse to participate in the festival [37].
Other artists also experienced conflicts with the political situation in Iran. Carolyn Brown recalls that while there was no controversy about MCDC’s 1972 visit,
“we were not unaware of the political difficulties and sensed there was worse to
follow.”
Merce Cunningham Dance Company was invited to return a few years later…………………………………………………………………………………………….
music in relation to perception of time
questions
time
http://0708013circle02a.blogspot.gr/2008/06/time-project.html
site – pic-nic 7+








































































































 0
0
